
Free UK Shipping
On Orders £30+. Next Day on Orders £80+
Same Day Dispatch
Weekday Orders Placed Before 3pm
Free Returns
100% Satisfaction Guaranteed
Lifetime Support
With Extended Warranties
Free UK Shipping
On Orders £30+. Next Day on Orders £80+
Same Day Dispatch
Weekday Orders Placed Before 3pm
Lifetime Support
With Extended Warranties
Dual Stage CO2 Regulator Setup Instructions
Note: The regulator shown in this guide may differ from the exact regulator you have purchased, but the same setup procedure applies to all 'Dual Stage CO2 Regulators'.
Know Your Regulator
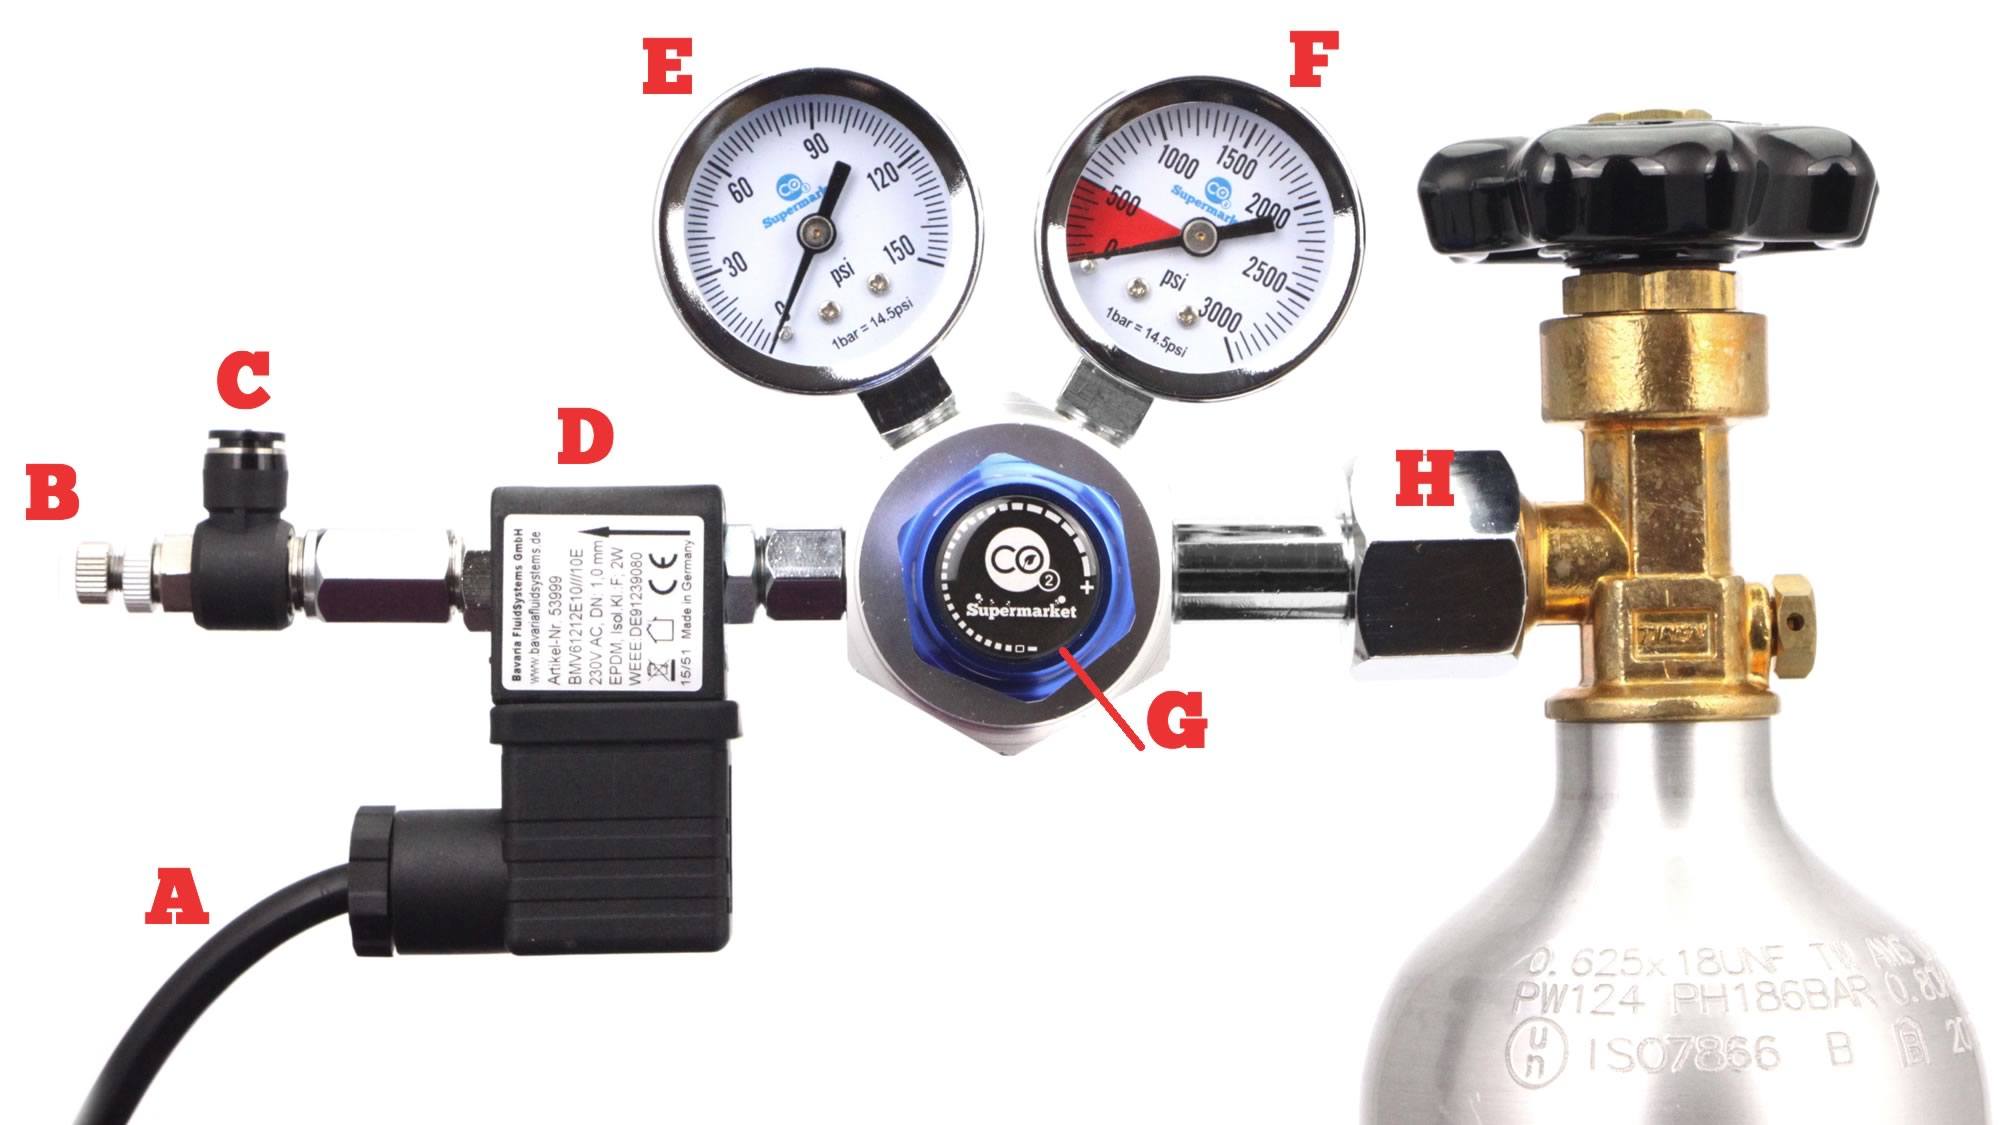
A: Mains cable.
B: Needle valve adjuster; adjusts the CO2 dose. Turn anticlockwise to increase flow, clockwise to decrease flow.
C: Needle valve output (push fit).
D: Solenoid valve. Plug into a timer plug or pH controller to only dose CO2 at specified times and durations.
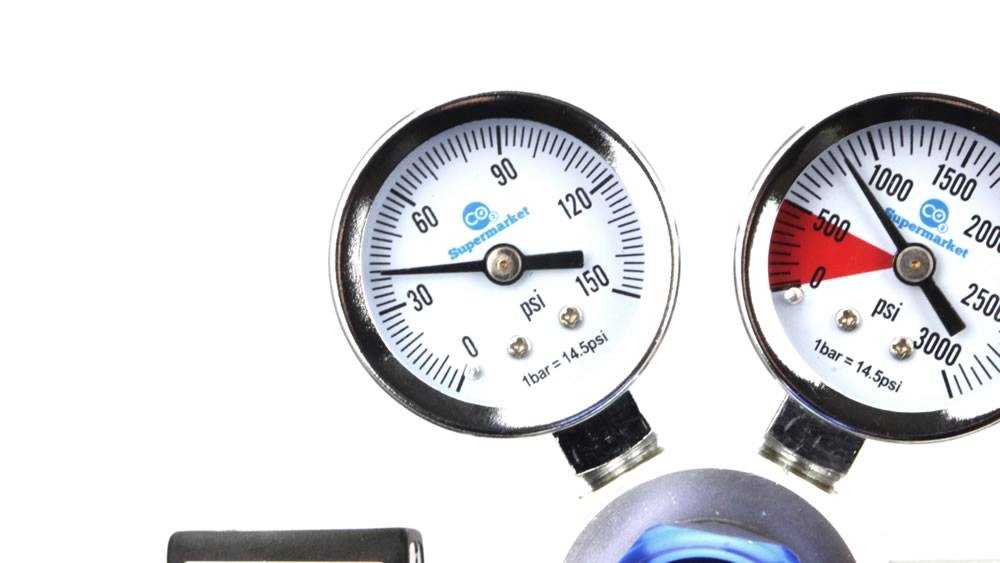
E: Working output pressure gauge.
F: Cylinder pressure gauge.
G: Pressure adjuster knob (clockwise increases pressure, anticlockwise decreases pressure).
H: Nut: must be tightened using wrench / spanner.
Video
Step-by-Step
Step 1) Tighten the regulator to your CO2 cylinder using a spanner or wrench.
Do not use your hands to tighten, it will not create sufficient seal and be likely to leak.
Do not hold the regulator while tightening; allow it to freely rotate.
Do not use your hands to tighten, it will not create sufficient seal and be likely to leak.
Do not hold the regulator while tightening; allow it to freely rotate.
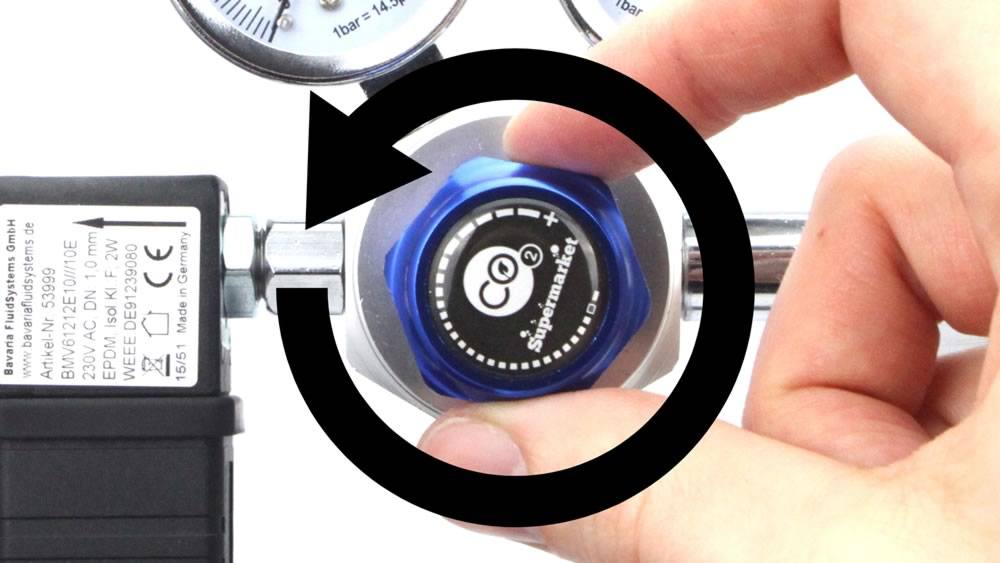
Step 2) Set the output pressure to minimum by turning the pressure adjuster knob fully anticlockwise.
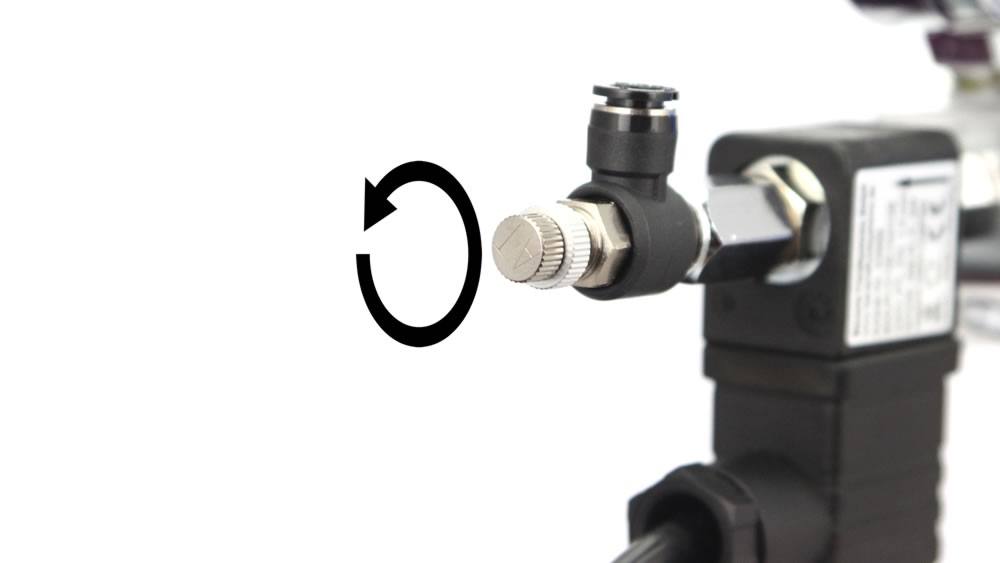
Step 3) Fully open the needle valve by turning fully anticlockwise.
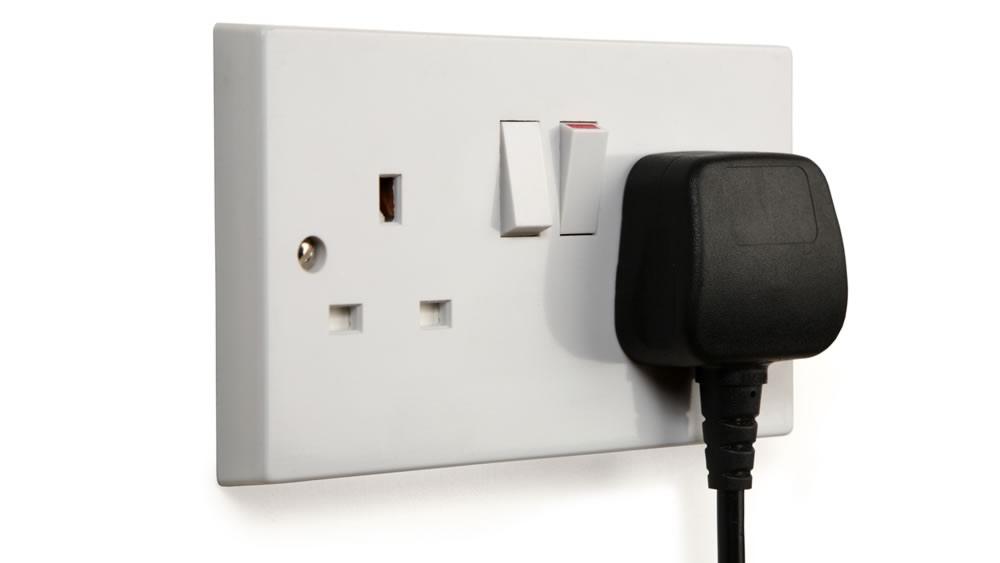
Step 4) Plug the solenoid into a mains socket and switch on.

Step 5) Open the flow of gas from your CO2 cylinder.
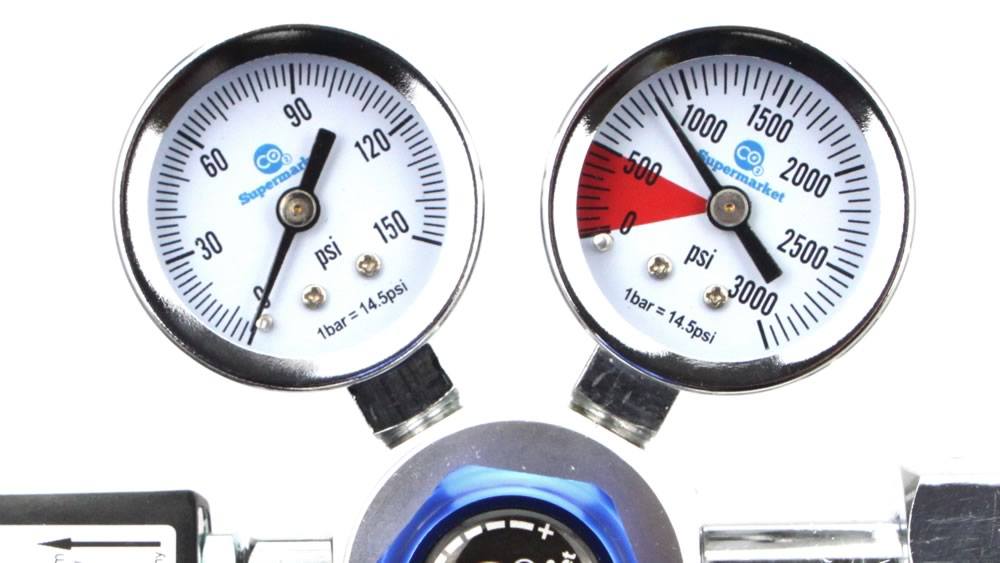
Step 6) The cylinder presure gauge will now indicate the pressure of the cylinder.

Step 7) Turn the needle valve fully clockwise.
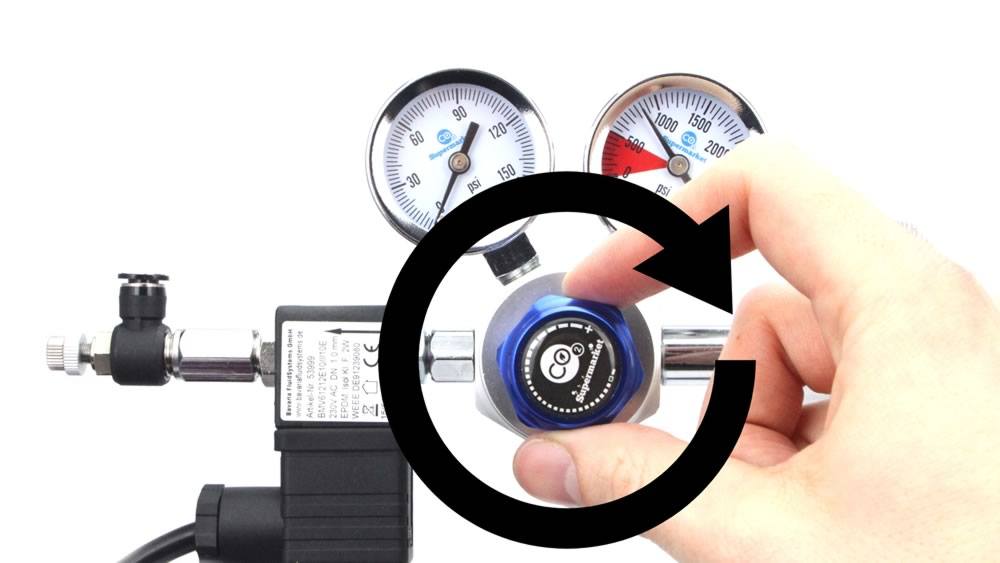
Step 8) Turn the pressure adjuster knob clockwise to increase output pressure.
Step 9) As a starting point set to 40 PSI.
Your dual stage regulator is now ready for use.
With the bubble counter attached, turn the needle valve anticlockwise to achieve the desired bubble rate. 1 bubble per second is suitable for a 150L aquarium - adjust your dosing in accordance to this, i.e. 2 bubbles per second for 300L aquarium.
Your dual stage regulator is now ready for use.
With the bubble counter attached, turn the needle valve anticlockwise to achieve the desired bubble rate. 1 bubble per second is suitable for a 150L aquarium - adjust your dosing in accordance to this, i.e. 2 bubbles per second for 300L aquarium.
Be Kind to Your Regulator
When you release the gas from CO2 cylinder, the regulator and pressure gauges take the full force of ~900 PSI in just a fraction of a second. When you consider that a car tyre is ~30 PSI, you can appreciate that's a lot of pressure to suddenly deal with, and that impact of pressure can cause damage to the internals of the regulator and/or pressure gauges.If you perform Step 3 and Step 4 then it gives the gas an escape route and lessens the sudden surge of pressure that the regulator and pressure gauges must absorb when the gas is first released from the cylinder. Once the regulator is pressurised you can immediately close the needle valve or turn off the solenoid to stop the flow of gas.
Remember to perform these steps every time you change the CO2 cylinder.
If you are using a CO2 fire extinguisher for your CO2 supply, then ensure you slowly and gently squeeze the levers to release the gas. Fire extinguishers are designed to release the gas very quickly, and squeezing the levers to release the gas very suddenly can cause damage to occur to the regulator and/or pressure gauges.
Check for Leaks
It is recommend that each time you reconnect the regulator to the CO2 supply that you check for leaks. Identifying a leak from the outset is a much more desirable result than discovering there is a leak only when a substantial amount (or all) of your CO2 cylinder has leaked.The easiest way to check for leaks is to cover all of the joins with soap suds, and look for any sign of bubbling, and also listen for a 'hissing' sound. If your regulator has a solenoid it is recommended that you switch off the electricity supply prior to applying soap suds. Please also try to only use the soap suds themselves, and as little water as possible.

Someone added a product to their cart
View ProductSomeone added a product to their cart
View Product