


Standard Adapter Setup Instructions
Note: The adapter shown in this guide is the SodaStream adapter, but the same setup procedure applies to the 'Disposable CO2 Cylinder' and 'Paintball CGA 320' adapters.
Video
Step-by-Step
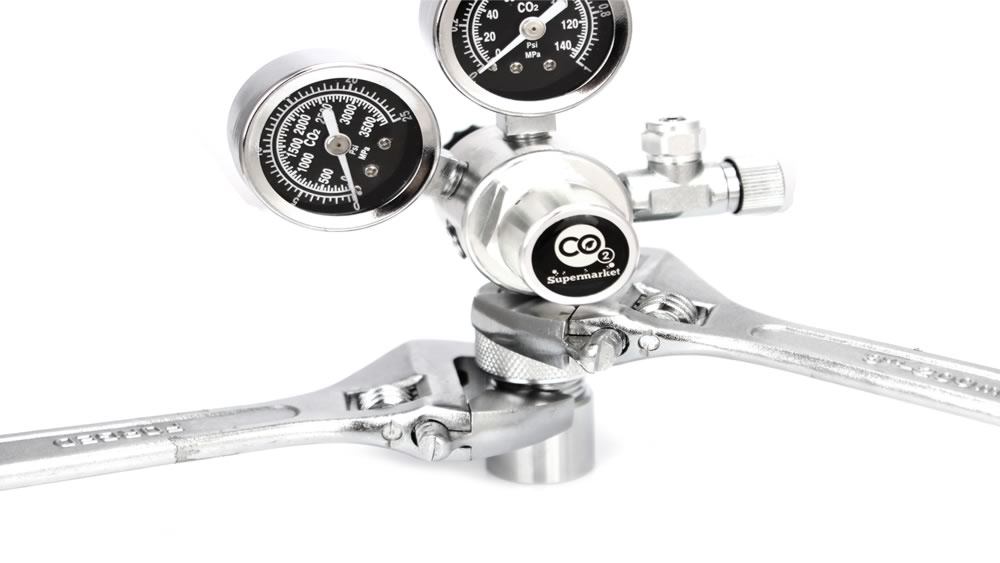
Step 1) Connect the regulator to the adapter using two wrenches or spanners; one for the regulator nut and one for the adapter. Do not attempt to hand-tighten the parts as it will result in a poor seal between the two parts.
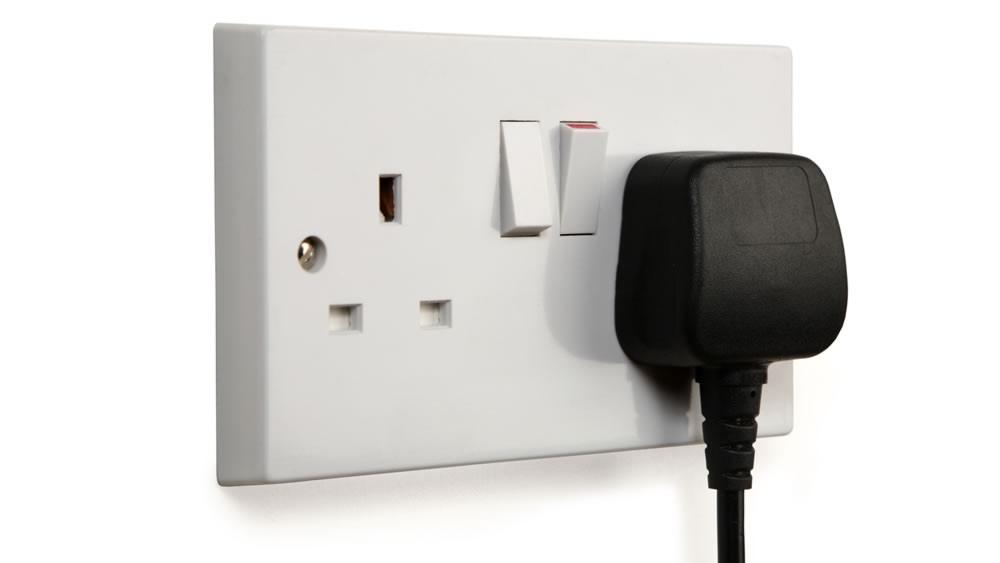
Step 2) If your regulator has a solenoid, plug it in and switch it on.
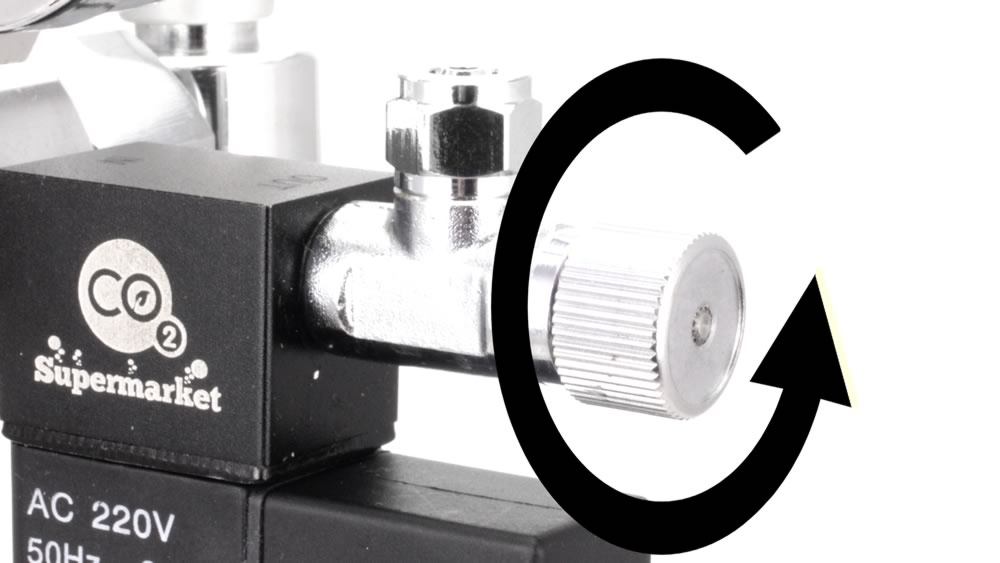
Step 3) Fully open the needle valve by turning anticlockwise.
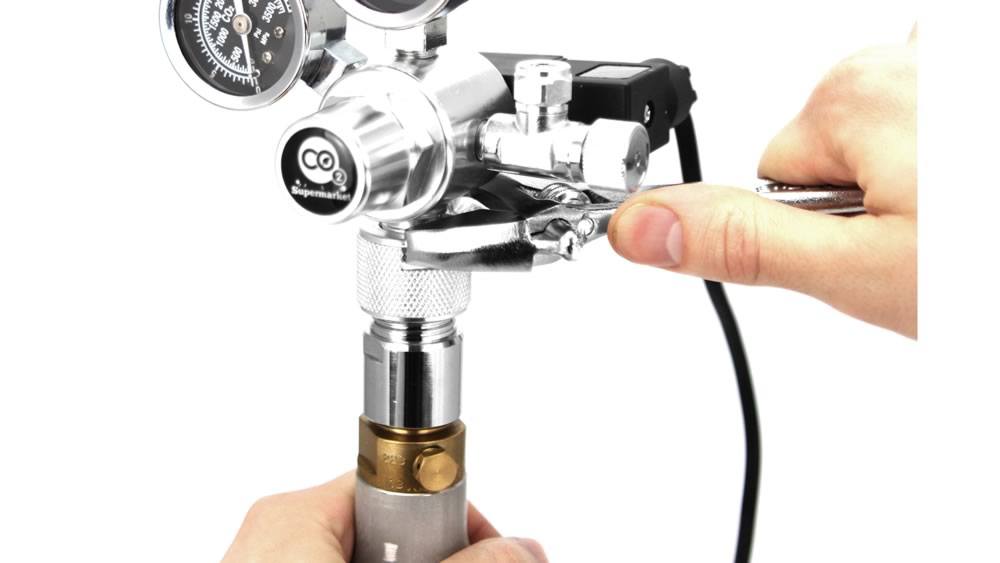
Step 4) Firmly grip the CO2 cylinder with one hand while tightening the regulator/adapter to the cylinder using a spanner or wrench. Tighten until the cylinder slips in your hand.
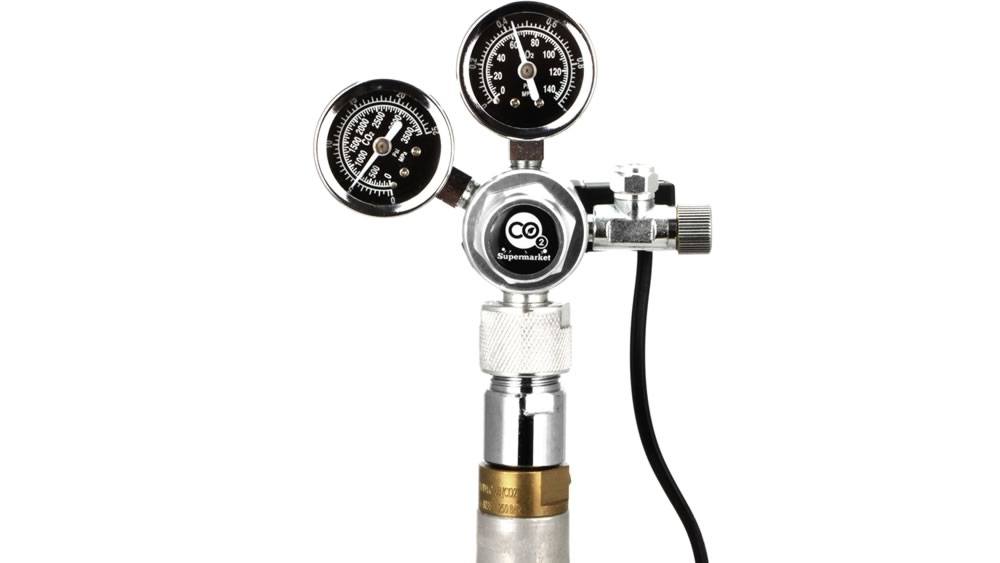
Step 5) While tightening the adapter to the cylinder you will hear the gas release from the cylinder. The cylinder and output working pressure will be displayed on the corresponding pressure gauges.
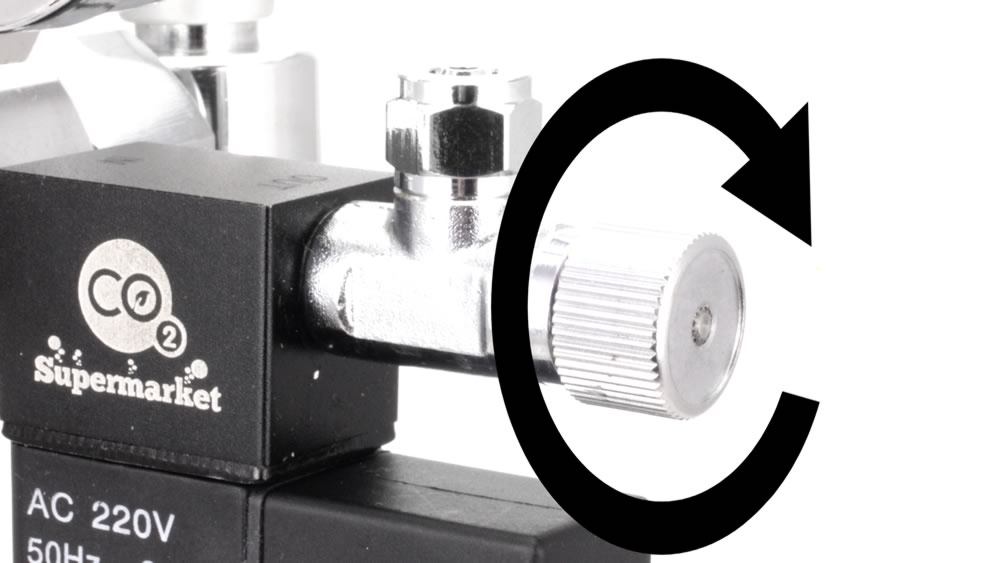
Step 6) Stop the flow of gas by turning the needle valve fully clockwise.
Your regulator is now ready for use.
Your regulator is now ready for use.
Be Kind to Your Regulator
When you release the gas from CO2 cylinder, the regulator and pressure gauges take the full force of ~900 PSI in just a fraction of a second. When you consider that a car tyre is ~30 PSI, you can appreciate that's a lot of pressure to suddenly deal with, and that impact of pressure can cause damage to the internals of the regulator and/or pressure gauges.If you perform Step 2 and Step 3 then it gives the gas an escape route and lessens the sudden surge of pressure that the regulator and pressure gauges must absorb when the gas is first released from the cylinder. Once the regulator is pressurised you can immediately close the needle valve or turn off the solenoid to stop the flow of gas.
Remember to perform these steps every time you change the CO2 cylinder.
If you are using a CO2 fire extinguisher for your CO2 supply, then ensure you slowly and gently squeeze the levers to release the gas. Fire extinguishers are designed to release the gas very quickly, and squeezing the levers to release the gas very suddenly can cause damage to occur to the regulator and/or pressure gauges.
Check for Leaks
It is recommend that each time you reconnect the regulator to the CO2 supply that you check for leaks. Identifying a leak from the outset is a much more desirable result than discovering there is a leak only when a substantial amount (or all) of your CO2 cylinder has leaked.The easiest way to check for leaks is to cover all of the joins with soap suds, and look for any sign of bubbling, and also listen for a 'hissing' sound. If your regulator has a solenoid it is recommend you switch the electricity supply off prior to applying soap suds. Please also try to only use the soap suds themselves, and as little water as possible.
Disconnecting from SodaStream Cylinder
If you wish to disconnect the adapter/regulator from the SodaStream cylinder it is important you provide a way for gas trapped inside the regulator to escape as you unscrew the SodaStream cylinder. To do this, ensure the solenoid is switched on and the needle valve on the regulator is fully open, and this will provide a way for the trapped gas to be vented.
Someone added a product to their cart
View ProductSomeone added a product to their cart
View Product