


Bubble Counter Setup Instructions
Buy These Bubble Counters Here
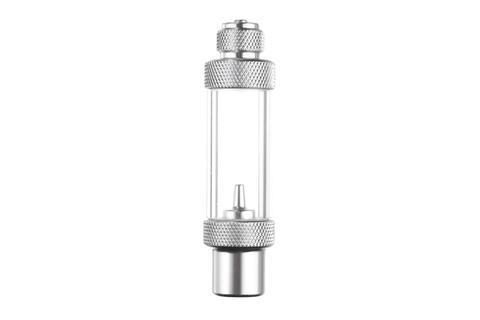

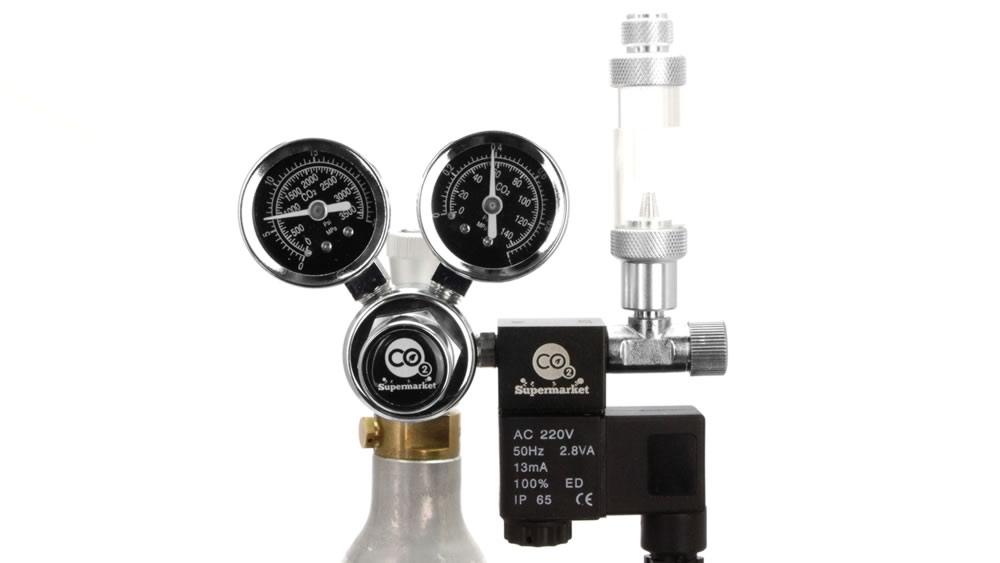
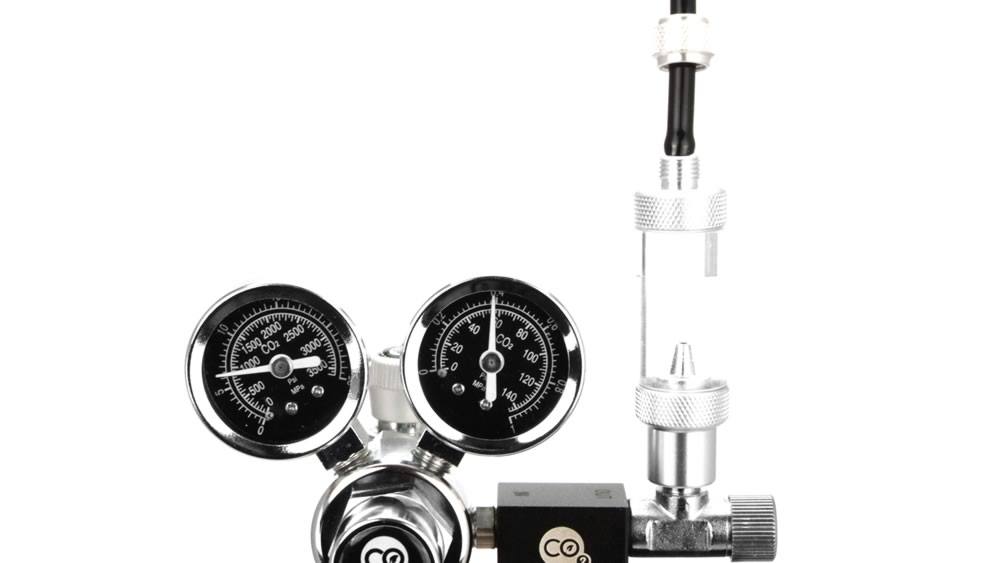
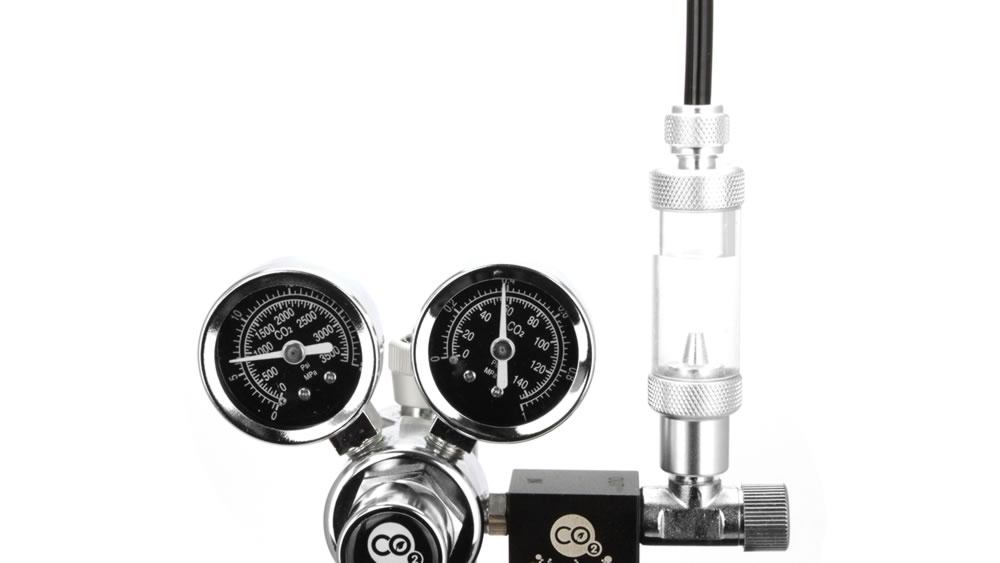
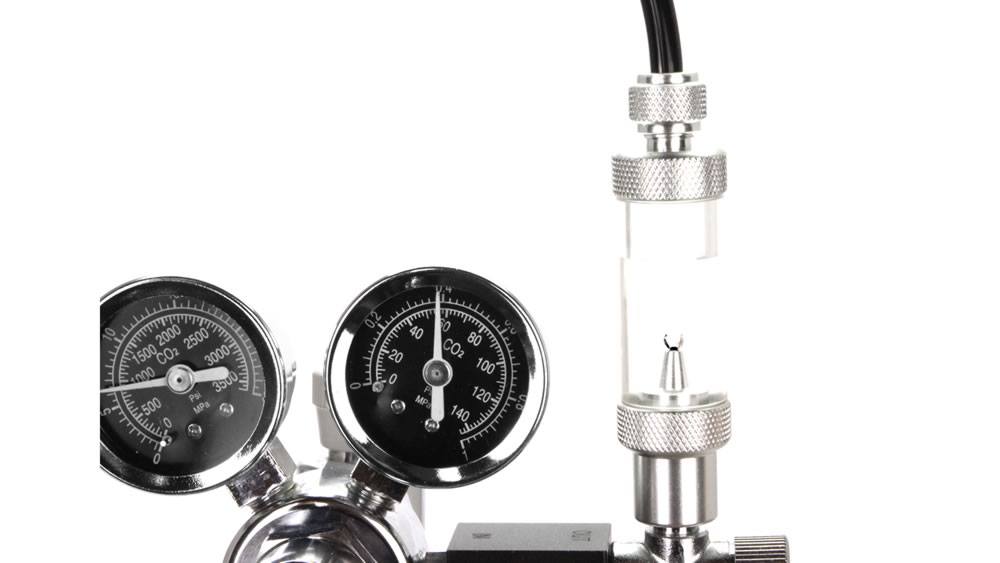
Regulator Bubble Counters
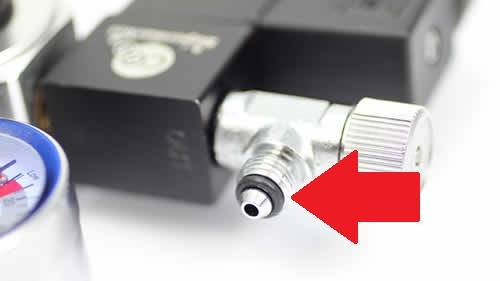
Step 1) Remove the compression collar from the regulator needle valve and put the supplied O-ring on the nipple of the needle valve. The O-ring can be found inside the bubble counter by removing the cap (it may sometimes become stuck to the underside of the cap).
Step 2) Unscrew the top of the bubble and fill 2/3 with water and screw it onto the needle valve. Tighten firmly to ensure an air-tight seal. You may wish to check the seal is 100% air-tight using soap suds once the system is operational.
Step 3) Unscrew the compression collar from the bubble counter, feed the tubing through it and onto the nipple of the bubble counter.
Step 4) Tighten the compression collar using manual force only (no tools).
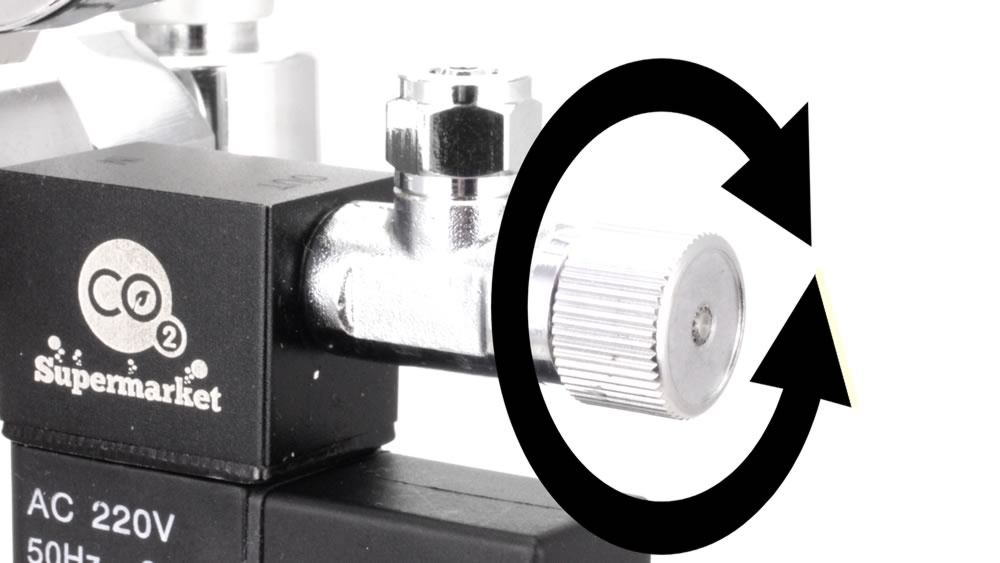
Step 5) Adjust the flow rate using the needle valve. Anticlockwise to increase flow, clockwise to decrease flow.
Step 6) Use the regulator's needle valve to adjust flow rate.
Count the number of bubbles going through the bubble counter and adjust the flow accordingly.
A good starting point is 1 bubble / second for a 150L aquarium.
Count the number of bubbles going through the bubble counter and adjust the flow accordingly.
A good starting point is 1 bubble / second for a 150L aquarium.
Inline Bubble Counters
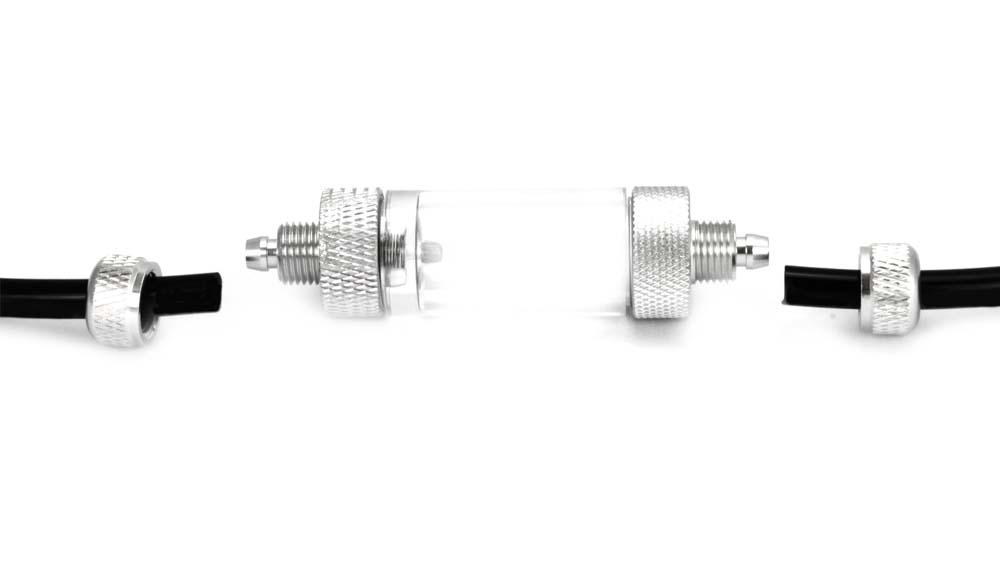
Step 1) Remove the compression collars from each end of the bubble counter and feed the through each collar.
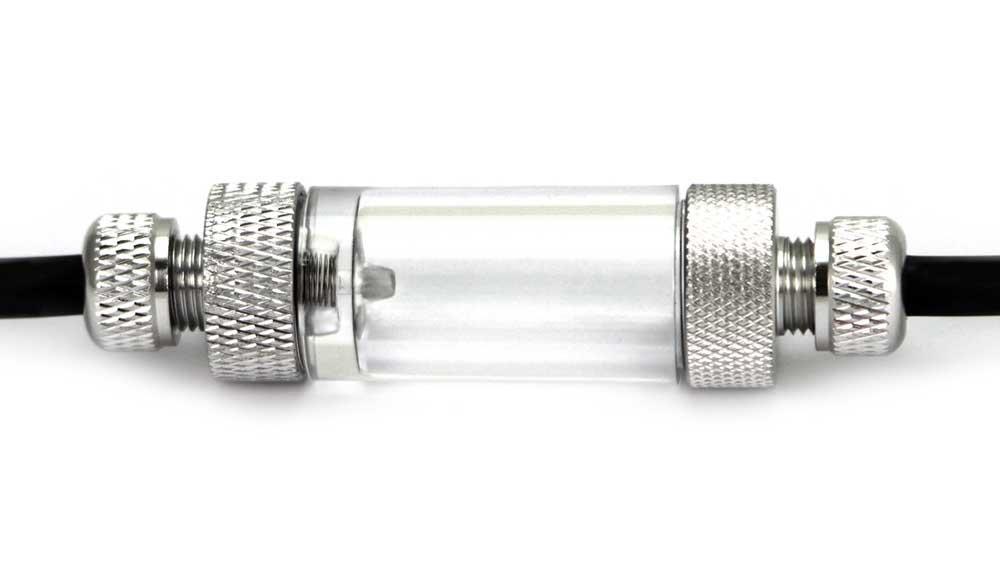
Step 2) Push the tubing onto the nipples at each end of the bubble counter and then screw the compression collars firmly onto the bubble counter. Do not over-tighten the compression collar.
Step 3) The top of the bubble counter unscrews to allow easy filling of water - fill to 3/4 full.
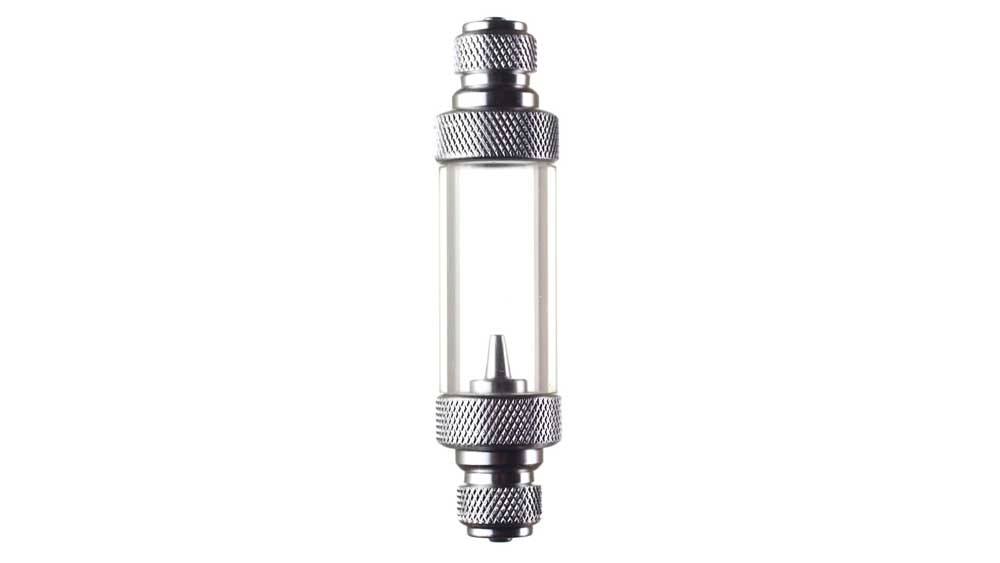
The bubble counter must be positioned in an upright position - as shown opposite, with the teat at the bottom.
The bubble counter must be positioned in an upright position - as shown opposite, with the teat at the bottom.

Someone added a product to their cart
View ProductSomeone added a product to their cart
View Product