


Nano CO2 Regulator with Adjustable Pressure
Know Your Regulator
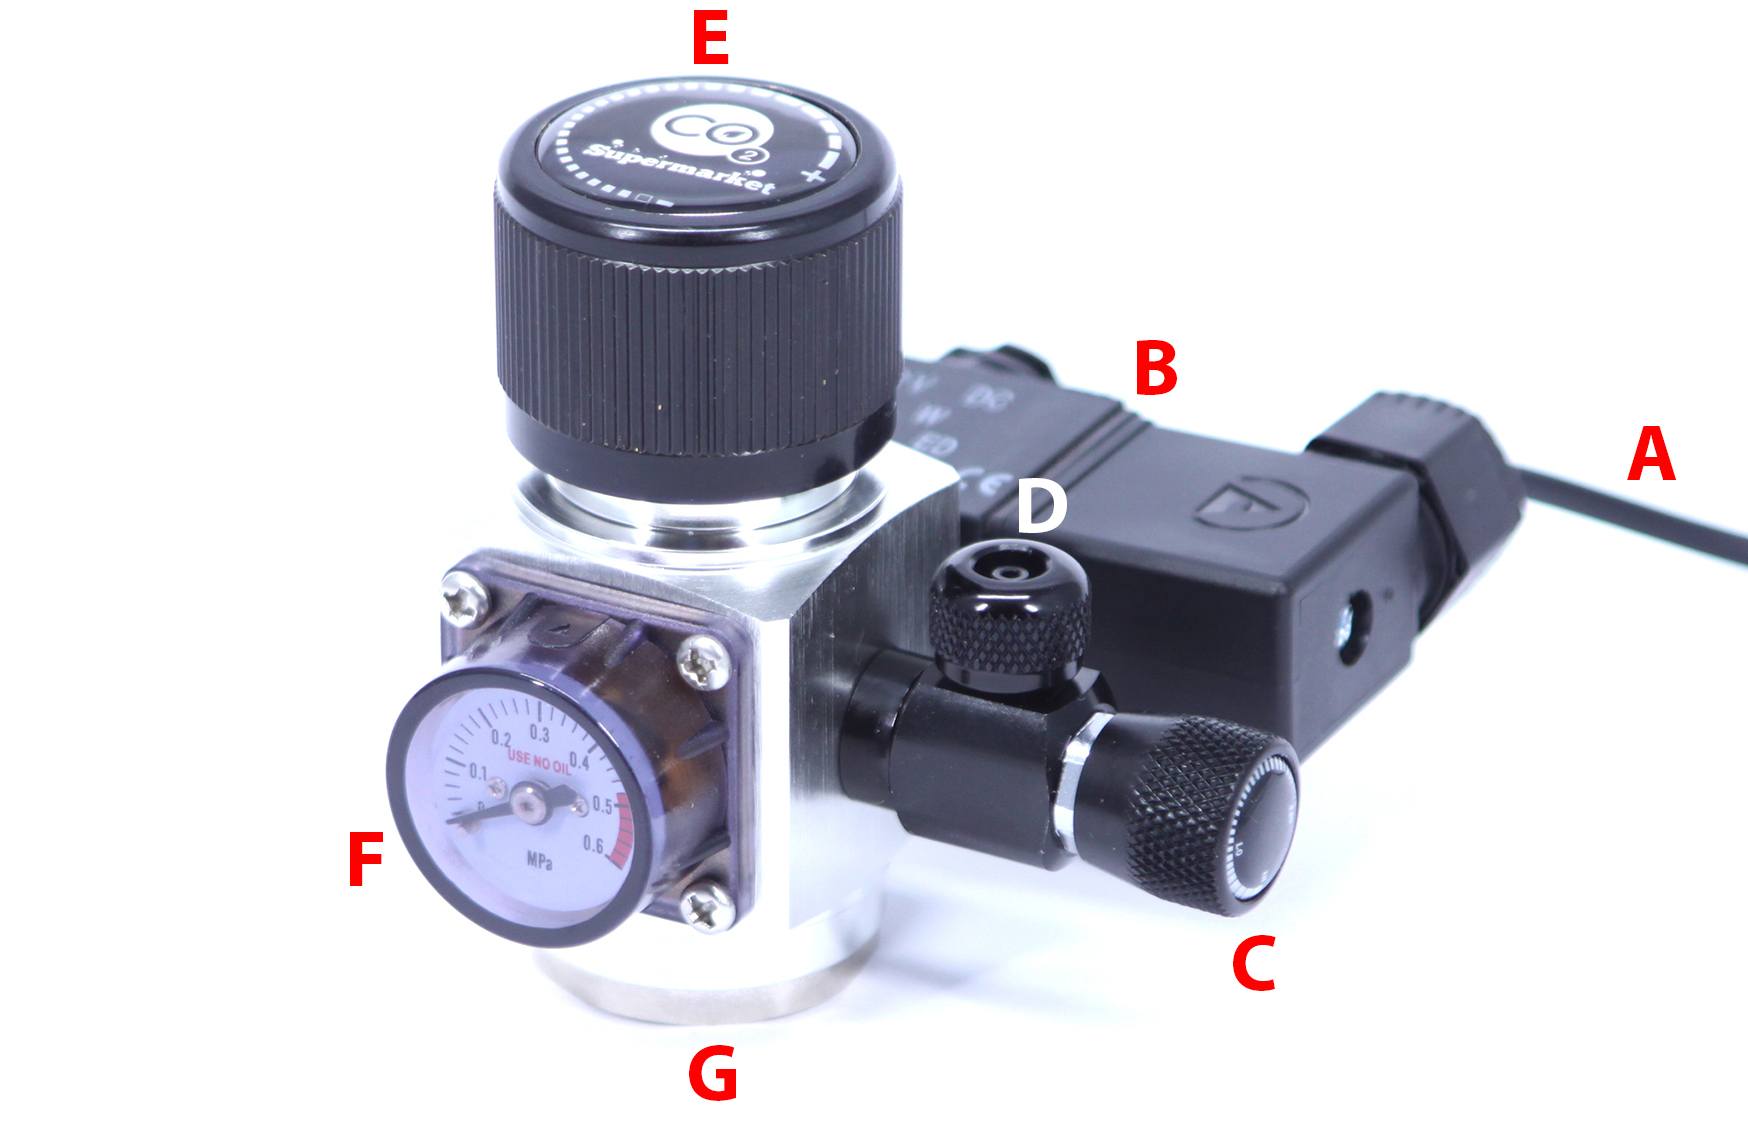
A: Mains cable.
B: Solenoid valve. Plug into a timer plug or pH controller to only dose CO2 at specified times and durations.
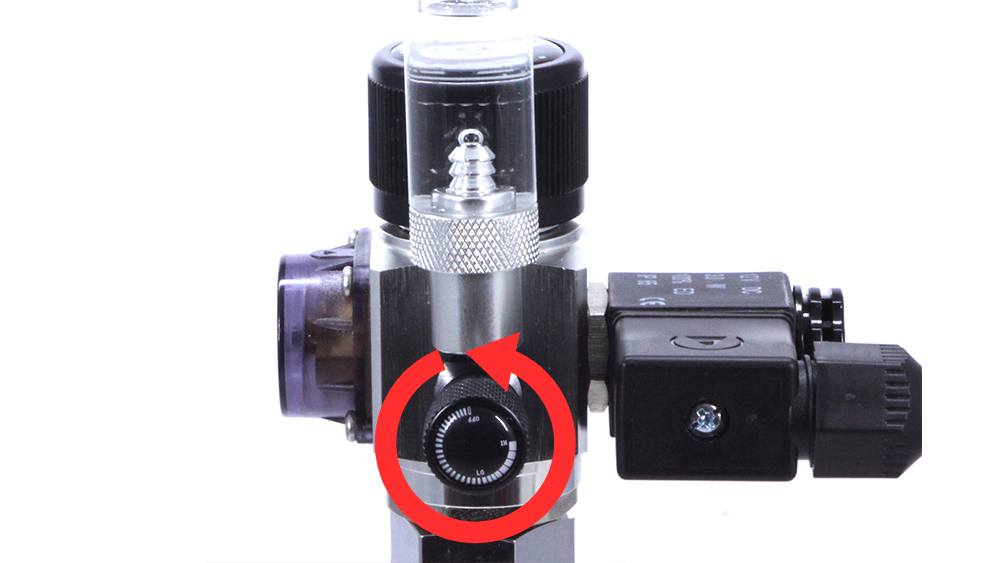
C: Needle valve adjuster; varies the CO2 dose. Turn anticlockwise to increase flow, clockwise to decrease flow.
D: Needle valve output (push-fit).
E: Pressure adjuster knob (clockwise increase pressure, anticlockwise decrease pressure).
F: Working output pressure gauge.
G: Screw CO2 cartridge into base of regulator.
Video
Step-by-Step
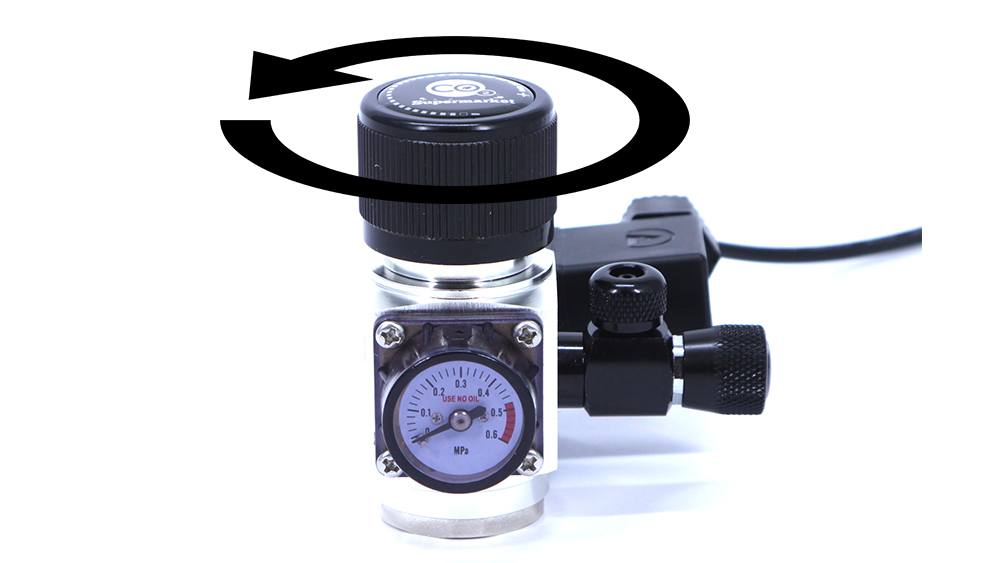
Step 1) Set the output pressure to minimum by turning the pressure adjuster knob fully anticlockwise.
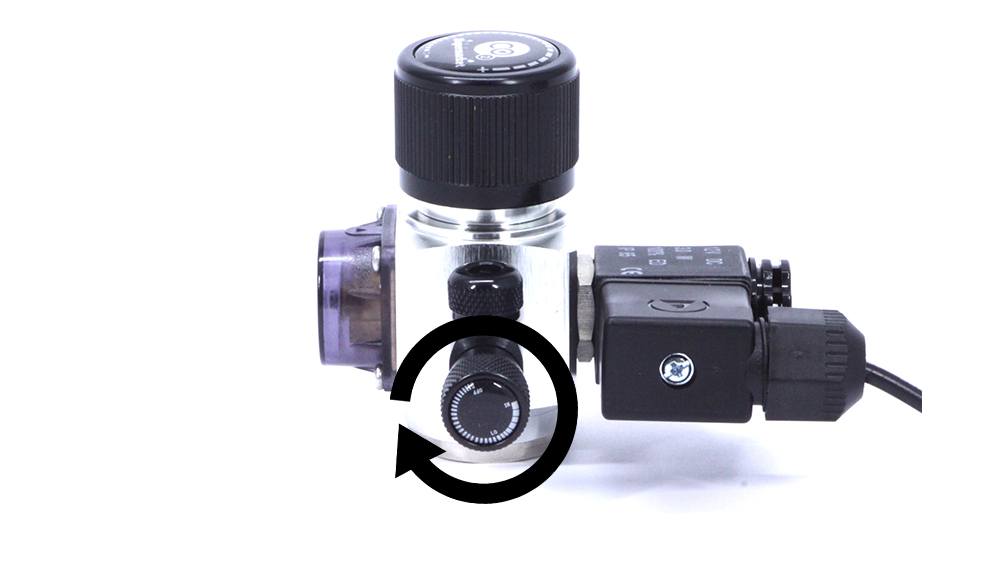
Step 2) Close the needle valve by turning fully clockwise.
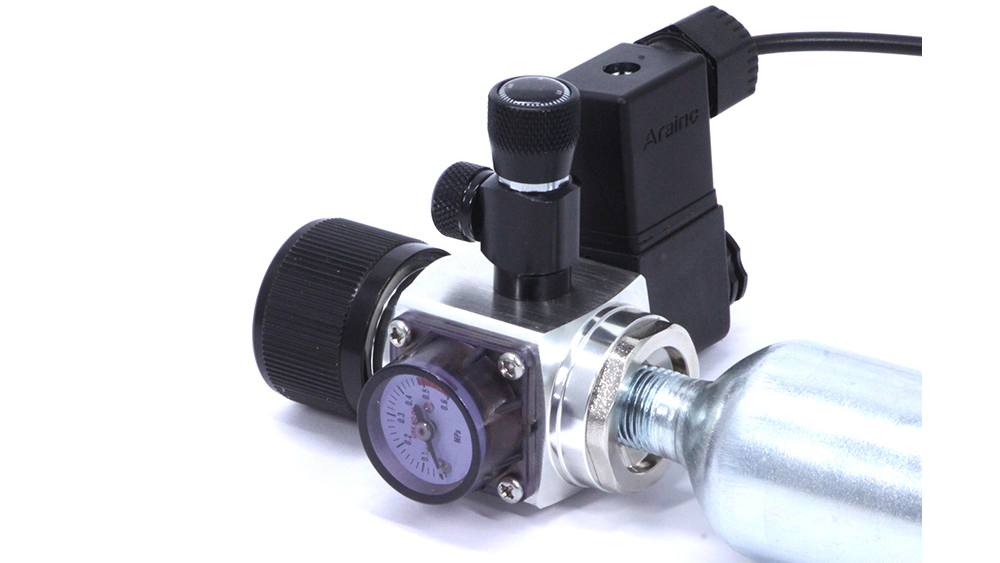
Step 3) Screw CO2 cartridge into the regulator. You may feel some resistance as the pin inside the regulator pierces the top of the CO2 cartridge to release the gas. Once the cartridge is screwed in, it should not be removed until all gas has been used.
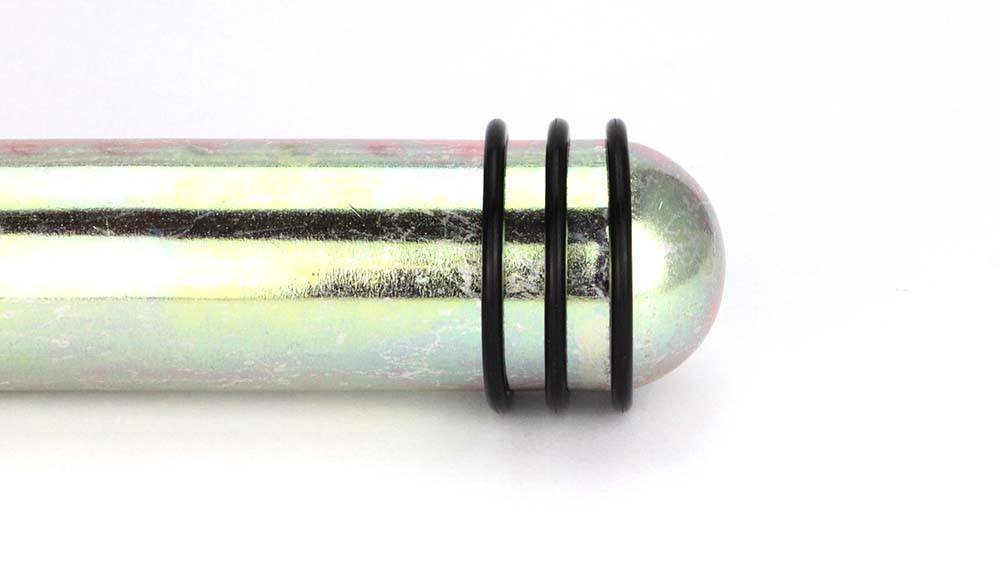
Step 4) Add O-rings to the CO2 cartridge to ensure snug fit in the base/holder.
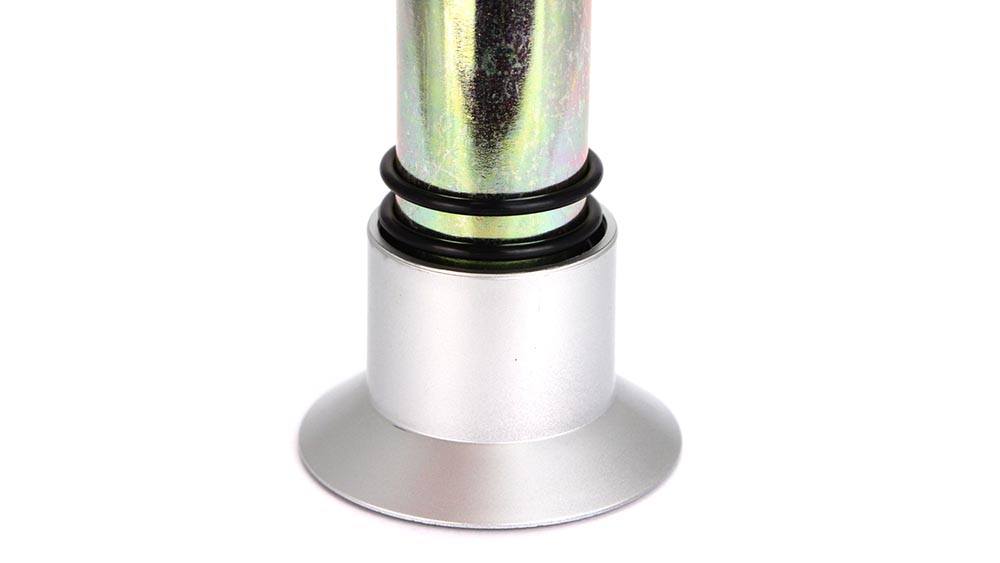
Step 5) Position the CO2 cartridge in the base/holder. The base has a sticky pad underneath, which can be used to provide additional support if required.
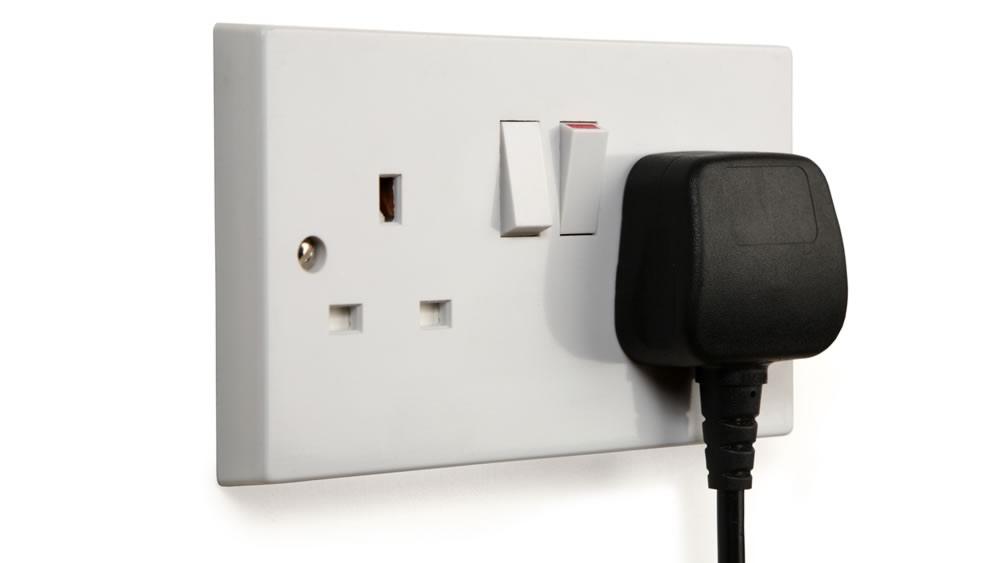
Step 6) Plug the solenoid into mains plug and switch on.
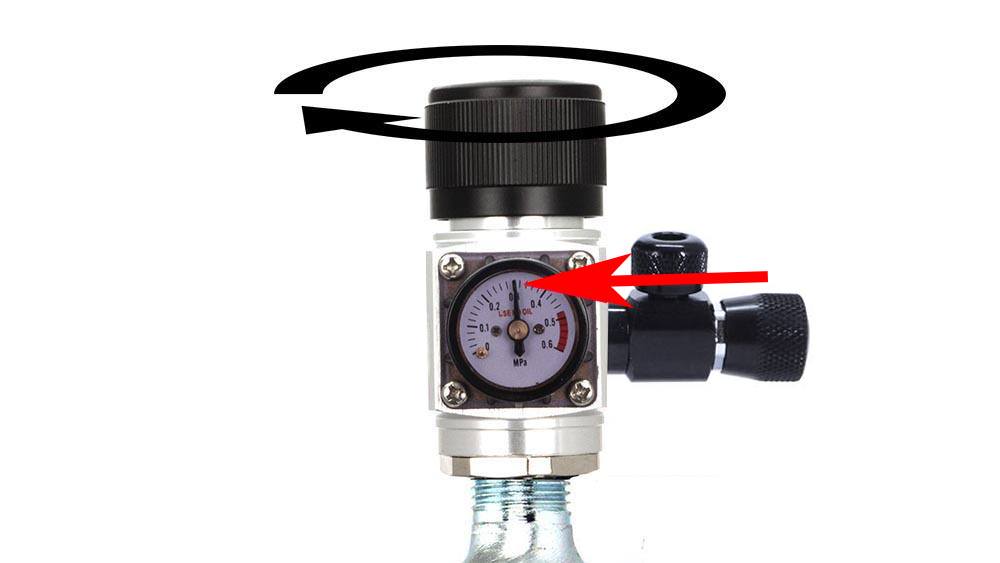
Step 7) Turn the pressure adjuster clockwise until the pressure gauge reads 0.3 MPa (which is 3 bar or approximately 40 PSI). This is a good starting point for most CO2 diffusers. It can be increased if necessary.
Step 8) With the bubble counter and diffuser installed, turn the needle valve anticlockwise to allow gas to flow out of the regulator and to the diffuser via the bubble counter. Once you see bubbles coming from the diffuser it indicates the system is fully pressurised and you can then set your desired bubble rate by adjusting the needle valve.
Check for Leaks
It is recommended that each time you reconnect the regulator to the CO2 supply that you check for leaks. Identifying a leak from the outset is a much more desirable result than discovering there is a leak only when a substantial amount (or all) of your CO2 cylinder has leaked.The easiest way to check for leaks is to cover all of the joins with soap suds, and look for any sign of bubbling, and also listen for a 'hissing' sound. If your regulator has a solenoid it is recommended you switch the electricity supply off prior to applying soap suds. Please also try to only use the soap suds themselves, and as little water as possible.

Someone added a product to their cart
View ProductSomeone added a product to their cart
View Product